Remove Black Mold From Shower Caulk: Poultice Method
Lift black mold from silicone caulk around a tub or shower with a bleach poultice, learn when caulk must be replaced, and stop the mold coming back.

Dry the caulk, then press cotton pads or strips of paper towel soaked in a diluted household bleach solution (follow the bleach label's dilution for surfaces) onto the moldy sealant. Leave for a few hours with the room ventilated, remove the pads, scrub gently with an old toothbrush and rinse well. If dark spots remain deep in the silicone, the mold has grown into it and the caulk should be cut out and replaced.
The black spots that appear along the silicone seal at the edge of a bath or shower tray are mold growing in a spot that rarely dries out. Unlike tile, silicone is soft and slightly porous, so the growth can work its way below the surface.
Surface mold can often be removed. Mold that has grown into the sealant usually cannot, no matter how much you scrub, and replacing the caulk is the long-term fix. This guide covers both.
Safety before you start
Wear rubber gloves and eye protection, open a window and run the exhaust fan. If you have asthma, allergies or a respiratory condition, consider having someone else do this, and avoid large mold problems yourself.
Use only one product at a time. Never mix bleach with vinegar, ammonia, toilet cleaners or other bathroom sprays, because these combinations release toxic gases. If you have already sprayed something else on the area, rinse it thoroughly with water and let it dry first.
What you need
The poultice method keeps the cleaner in contact with the caulk instead of letting it run off.
- Household chlorine bleach (or a mold remover spray made for bathrooms)
- Cotton pads, cotton wool or strips of paper towel
- A small container for the diluted solution
- Gloves, eye protection and an old toothbrush
- A clean cloth and water for rinsing
Step 1: Clean and dry the area
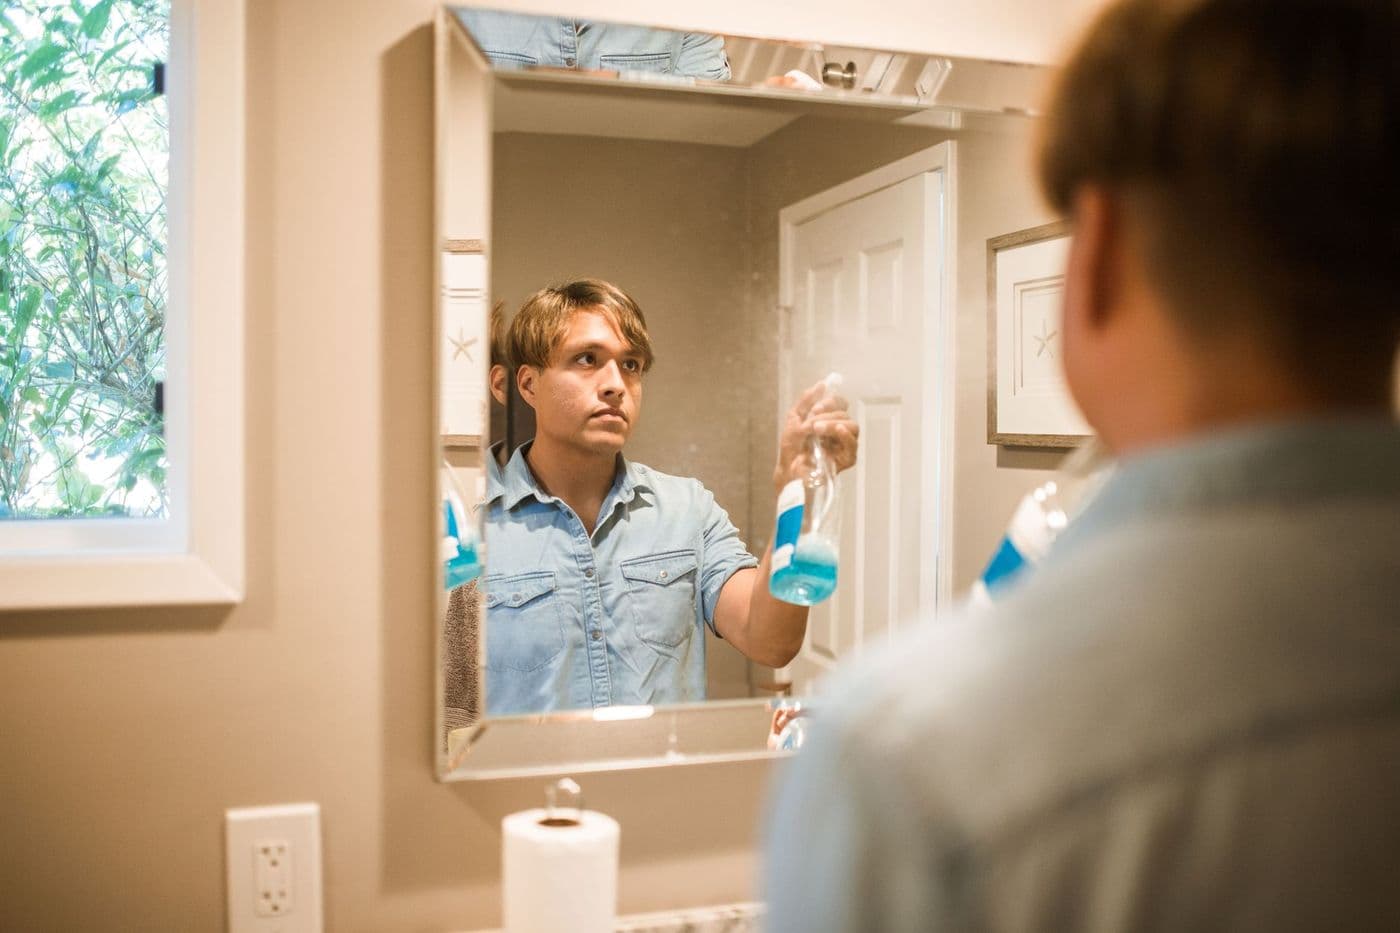
Wash away soap scum and surface grime with warm water and a little dish soap, then rinse and dry the sealant completely with a towel. A dry surface lets the treatment soak in rather than being diluted.
Step 2: Apply a bleach poultice
Dilute the bleach according to the label's directions for disinfecting or mold removal on hard surfaces. Soak cotton pads or rolled paper towel strips in the solution, squeeze out the excess so they do not drip, and press them along the moldy caulk.
Leave them for a few hours, keeping the room ventilated and children and pets away. Some people leave them overnight for very stained caulk. Check the bleach label and test a small area first if your tub or tray is colored or acrylic, as bleach can affect some finishes.
Tip: If you prefer to avoid chlorine bleach, a 3% hydrogen peroxide solution applied the same way can lighten mild surface mold. Do not combine it with vinegar in the same container.
Step 3: Scrub and rinse
Remove the pads, wearing gloves, and throw them away. Scrub the caulk gently with an old toothbrush, then rinse thoroughly with clean water and dry with a cloth.
If the black spots have gone or faded significantly, you are done. If they remain visible below the surface, the mold has likely penetrated the silicone and further treatment will only lighten it.
When to replace the caulk instead
Replace the caulk if mold remains after a couple of treatments, if the sealant is peeling, cracked or pulling away from the tile, or if water can get behind it. Damaged sealant lets water seep into the wall or floor, which is a bigger problem than appearance.
To replace it, cut out the old caulk with a utility knife or caulk removal tool, clean off residue, treat the joint with a mold cleaner, rinse and let it dry completely, often for 24 hours. Apply new mold-resistant silicone sealant made for bathrooms and leave it to cure for the time on the tube before using the shower.
Preventing mold from coming back
Mold on caulk is mainly a moisture problem.
- Run the exhaust fan during showers and for 20–30 minutes afterwards.
- Wipe or squeegee the sealant line dry after each shower.
- Keep shampoo bottles and bath toys off the caulk line so water does not pool under them.
- Spray a bathroom cleaner and wipe the sealant weekly, before spots get established.
- Fix dripping taps or shower heads that keep the edge permanently wet.
Frequently asked questions
Can vinegar kill mold on shower caulk?
Vinegar can help with light surface mold, but it is generally less effective than bleach on dark stains in silicone. Never use vinegar and bleach together or one after the other without rinsing.
Why does mold keep coming back on my silicone?
The sealant is staying damp, or mold has grown into the silicone itself. Improve ventilation, dry the area after showers and replace caulk that stays stained after treatment.
Is black mold on shower caulk dangerous?
Small amounts of bathroom mold are common, but mold can irritate people with allergies or asthma. Clean it promptly with good ventilation, and seek professional help for large or recurring growth.
How long should new silicone caulk cure before showering?
Follow the cure time on the tube. Many bathroom silicones need around 24 hours, and some recommend longer before heavy water exposure.
Advertisement
General information only. Check product labels and manufacturer instructions before you start.
Keep reading

Clean a Bathroom Exhaust Fan Safely in 20 Minutes
Clean a dusty, noisy bathroom exhaust fan step by step: cut the power, wash the cover, vacuum the blades and housing, then test the airflow with one sheet.
Clean a Shower Head With Vinegar: No Tools, 6 Steps
Unclog a shower head and restore water pressure with a simple vinegar bag soak, plus how to clear blocked nozzles and protect brass or matte black finish.

Remove a Toilet Bowl Ring Without Scratching: 5 Steps
Get rid of the hard-water ring in a toilet bowl with vinegar, citric acid or a wet pumice stone, plus the toilet cleaner combinations you must never mix.